


Gift Tags Christmas Blush Collection

I couldn’t resist creating another project with the gorgeous Christmas Blush collection by Frank Garcia! This time, I made three festive gift tags, each featuring a favourite design from the collection: Bundled Up Winter Bear, Sweet Snowman, and Sparkling Trees . These tags are perfect for adding a little extra Christmas magic to any gift.

SUPPLIES
When possible, I participate in an Affiliate Link Program. Essentially that means that I receive a small commission for purchases made below. These moneys help support the costs associated with my blog. There is absolutely no difference in the prices of products purchased here or directly from the on-line store. Thank you for your support!
Colorwheel Cardstock - Chiffon, Fern, Acorn, Truffle, Seaside, Black, White, Cream
For all three cards, I kept the design consistent, using a palette of soft pink, white, and black. The repetition of the colours and background design creates a cohesive set, while the different focal points give each card its own personality.
Tag Details
To begin, I created the tag bases using the 3-in-1 Tag Punch. This versatile punch offers three tag widths and allows you to customize the length to suit your project. For these tags, I punched each one at 2½ inches wide and trimmed it to 5½ inches long.
Next, I added a snowy finish with Splatter White. Because this medium is fairly thick, I diluted it slightly with water before applying it with a fan brush. Once the splatter was completely dry, I finished each tag with gold sparkle tulle, looping it through the hole at the top.
Bundled Up Winter Bear

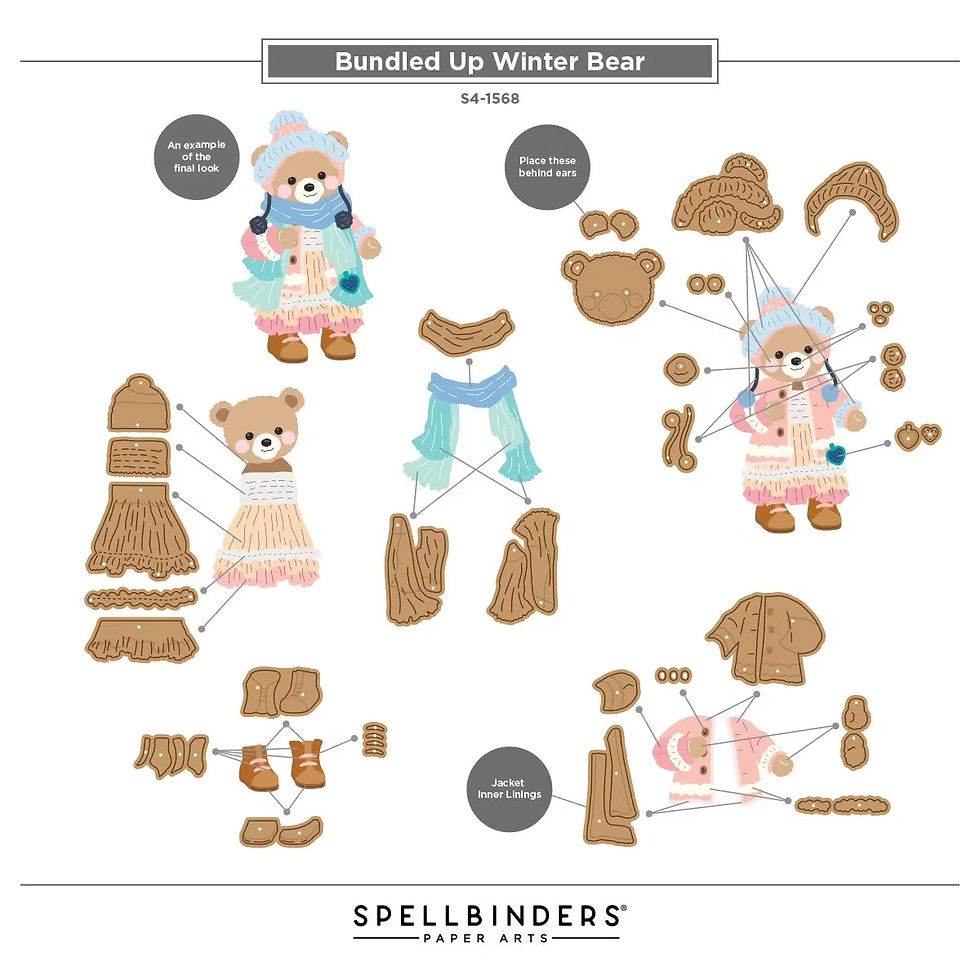
Next, I created the Bundled Up Winter Bear using Cream, Chiffon, and Kraft cardstock. To add subtle definition, I lightly brushed the edges of the hat, scarf, coat, and dress pieces with Distress Oxide in Gathered Twigs.
Sweet Snowman

For the Sweet Snowman, I die cut the individual layers from several coordinating colours:
● Blush for the scarf and hat band
● Seaside for the snowman
● Acorn and Fern for the twig arms
● Black for the hat and eyes
● Gold foil cardstock for the buttons
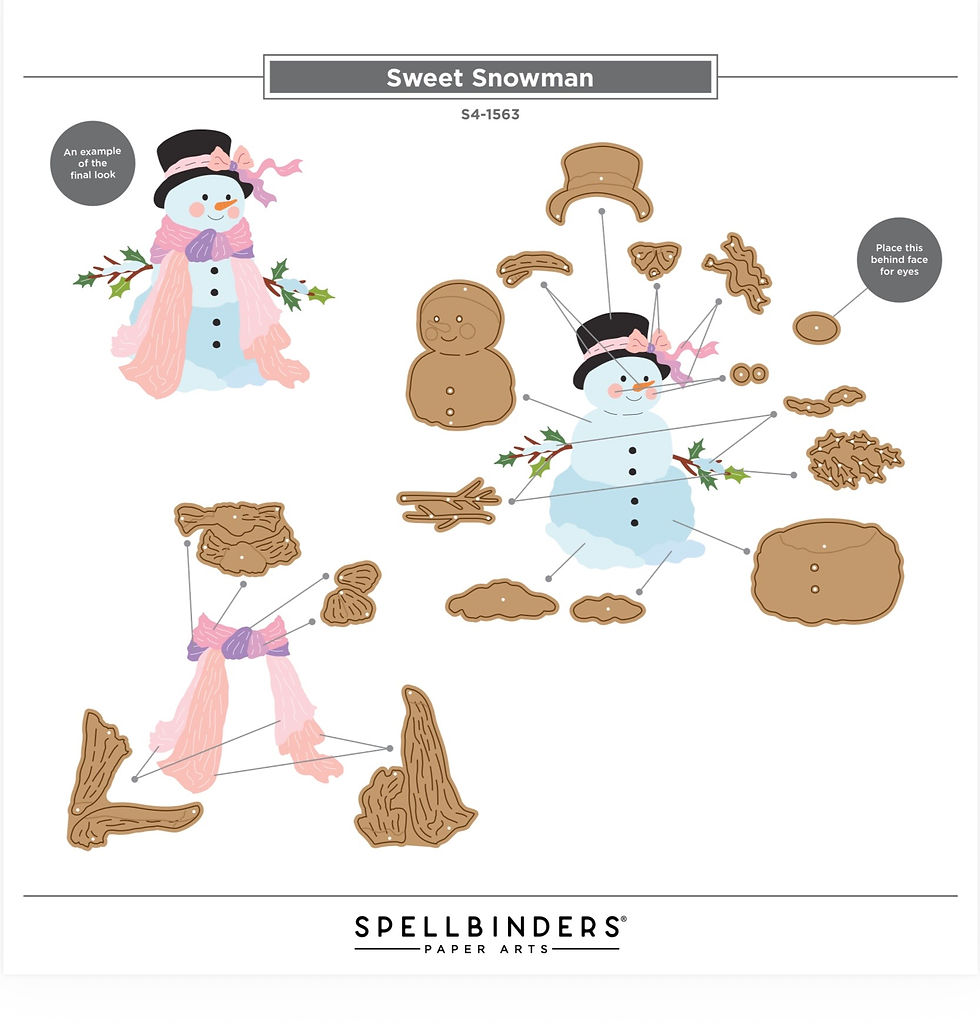
I then assembled the pieces using the included assembly guide. I assembled the bear using the included guide before setting him aside to dry. For a snowy effect, I dabbed Nuvo Stone Drops in Chalk White onto the snowman and added it along the branch arms to create little snow-covered drifts.
Sparkling Trees
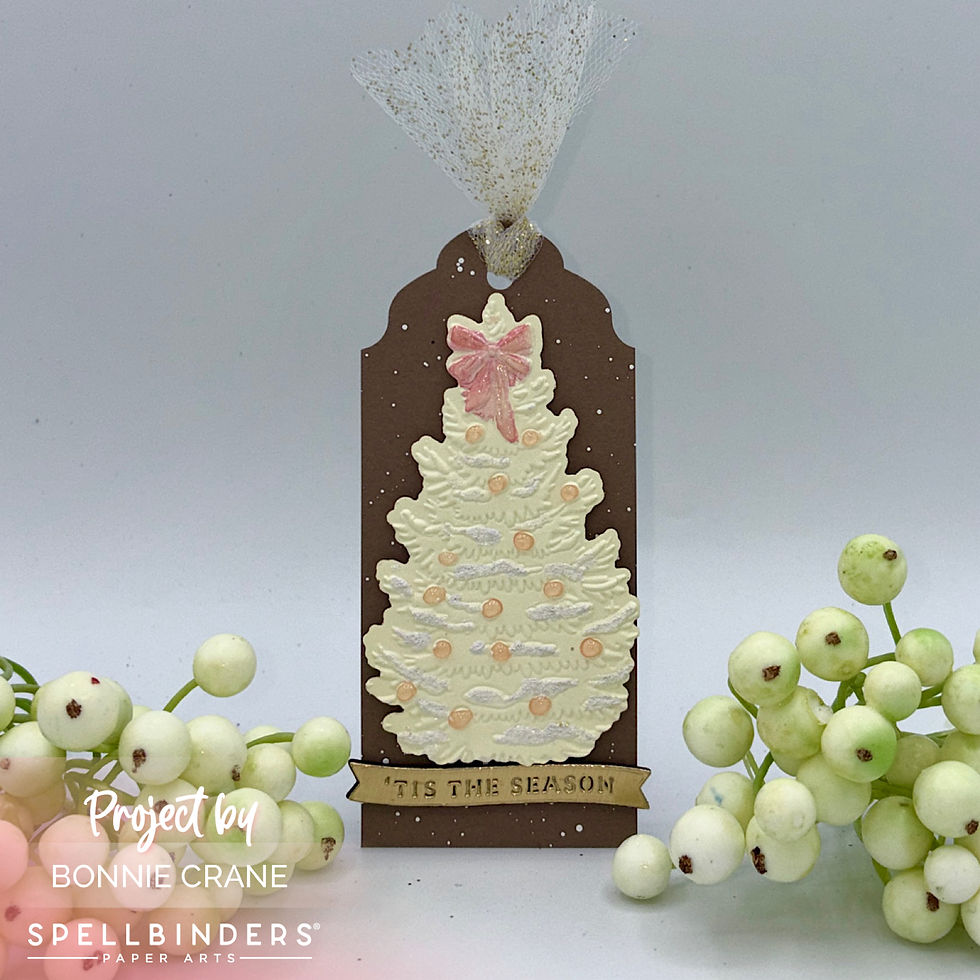
For the third tag, I featured Sparkling Trees . I began by die cutting the tree design from Cream cardstock, then placed the die cut inside the coordinating 3D embossing folder, carefully aligning it with one of the trees.
After embossing, I used a watercolour brush to apply diluted Distress Oxide in Worn Lipstick to the bow. Once the colour was dry, I added clear sparkle pen for a soft, shimmering finish.
The embossed design includes beautiful snow drifts, which I highlighted with Nuvo Stone Drops in Chalk White. Finally, I added Nuvo Jewel Drops in Rosewater to the ornaments for extra sparkle and dimension.
Finishing the Tags
The elements were attached them to the tag bases with foam adhesive. This added dimension and helped each design stand out.
For the sentiments, I used the banner from Make It Merry Sentiments. I die cut the banner from gold foil cardstock, then from black craft foam. After adhering the gold sentiment to the foam layer, I created a dimensional, stacked embellishment to adhere beneath its featured design to complete the tags.
Closing Thoughts
These tags were such a joy to create! I love the Christmas Blush collection. Each tag has its own personality, while the coordinated colours bring the set together beautifully. These designs would look lovely attached to a wrapped gift, a Christmas treat bag, or even a bottle of wine for a little extra handmade Christmas cheer!
Comments